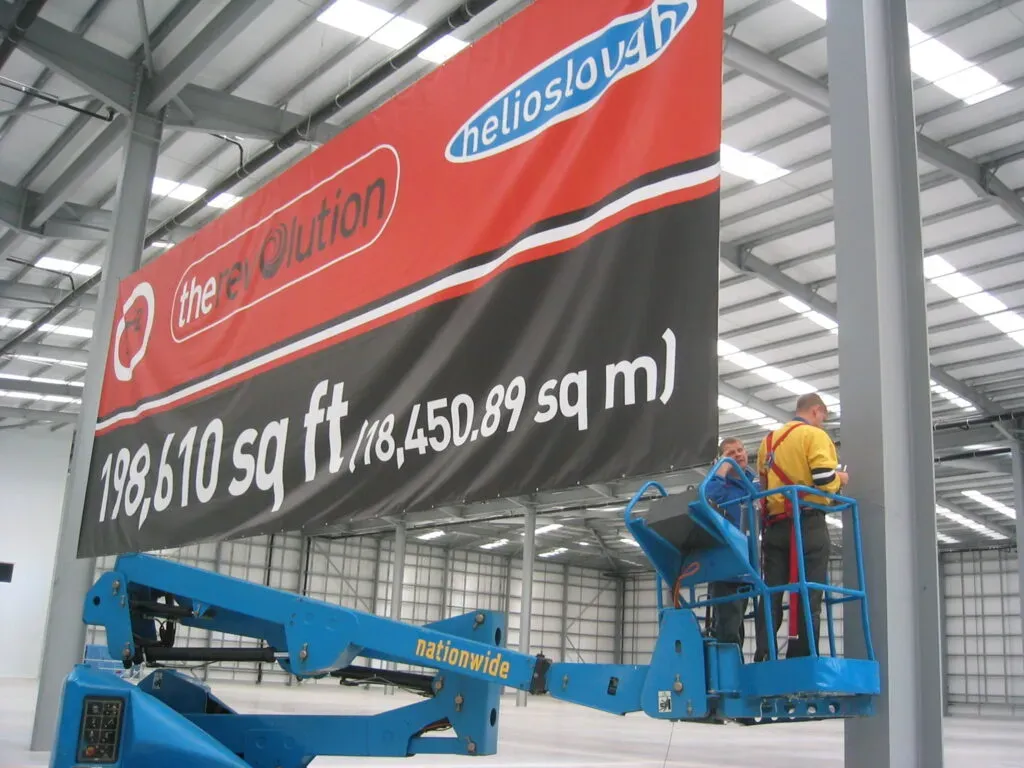
Custom banner installation blends eye-catching design with practical engineering, turning banners into durable, readable displays for events, storefronts, and outdoor venues, while ensuring the message stays crisp even in breezes, changing light, and routine handling. A successful install relies on proven banner mounting techniques that balance tension, alignment, and surface compatibility to prevent sagging, flutter, and edge wear, whether you mount on brick, glass, wood, or metal façades. From choosing the right banner grommets hardware to selecting weather-resistant fasteners, planning with clear safety guidelines for banner installation protects both the installation team and the integrity of the message, reducing downtime and maintenance in harsh environments. If you’re new to vinyl banners, the guide below shows how to install vinyl banners effectively, with step-by-step visuals and tips that keep visuals crisp, legible, and securely anchored from the first attachment. By focusing on environment awareness, equipment readiness, and routine checks, you can deliver professional impact while extending banner life through proper tension, edge reinforcement, and proactive maintenance.
Understanding the Essentials of Custom Banner Installation
Custom banner installation begins with a clear assessment of the environment, banner material, and the loads it must withstand. Outdoor banners must resist sun exposure, rain, and gusty winds, while indoor banners prioritize frequent handling and lighting. By framing these factors, you set up a mounting plan that preserves legibility, sharp visuals, and long-term durability using proven banner mounting techniques. Understanding the material and hardware options—grommets, hooks, rails—helps ensure a secure, readable result before you start installing.
Planning and preparation reduce the risk of sagging, tearing, or unsafe work conditions. Start by identifying the mounting location, measuring space, and evaluating wind/load expectations for outdoor installations. This planning phase is a key component of any successful custom banner installation and sets you up to choose appropriate banner grommets hardware and mounting methods. Gather tools and hardware such as measuring tape, level, drill, anchors, screws, grommets or reinforced eyelets, and PPE to keep the job efficient and safe.
Banner Mounting Techniques for Reliable Visibility
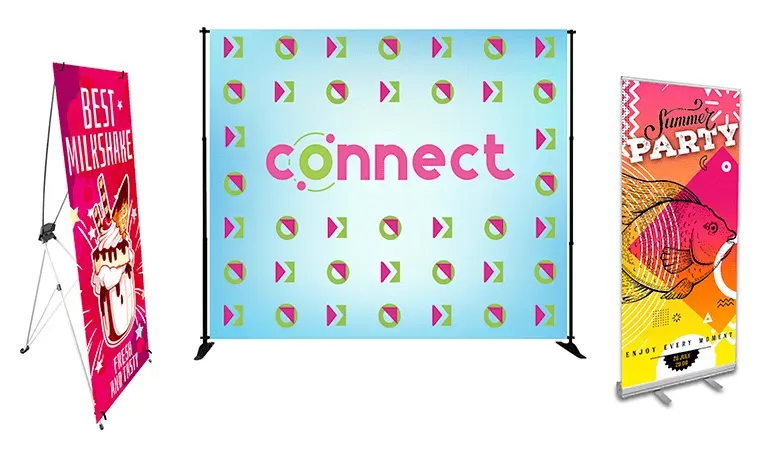
There isn’t a single one-size-fits-all approach; the best method depends on the surface, banner size, and whether the installation is indoor or outdoor. Common techniques include wall mounting with anchors and toggles, rail or frame mounting with through-grommet fasteners, and freestanding systems using poles or mast supports. Selecting the right banner mounting techniques reduces edge stress, ensures uniform tension, and keeps messages legible from distance.
To achieve taut, readable banners, align attachments with the banner edges, distribute load evenly, and consider wind loads for outdoor displays. For quick setups, rope or zip-tie ties through grommets can work, but they require careful tension to avoid tearing. When in doubt, consult a plan that outlines anchor spacing, surface compatibility, and how to install vinyl banners for long-term durability.
Grommets, Hardware, and Edge Reinforcement for Longevity
Grommets are the backbone of durable attachment. Correct size, spacing, and protective washers reduce edge tearing and spread load along top and bottom margins. For large banners, space grommets every 12 to 24 inches, adjusting for wind exposure, and choose corrosion-resistant grommets such as brass or stainless steel to maximize life. Selecting banner grommets hardware that is durable and suitable for outdoor use helps ensure consistent tension without tearing.
Edge reinforcement, such as reinforced hems or double stitching, helps resist tearing at attachment points. Pair grommets with appropriate hardware—anchors, hooks, or rails—that are rated for outdoor use and matched to the mounting surface. This combination supports a stable, taut banner even in challenging conditions.
Safety Guidelines for a Secure Banner Installation
Safety guidelines for banner installation must guide every step. Wear PPE, secure fall protection when working at height, and monitor weather conditions to avoid wind-related hazards. Following established safety guidelines reduces the risk of injuries and banner damage while ensuring the job meets professional standards.
Inspect mounting surfaces for cracks or weakness, keep cords away from heat sources, and maintain three points of contact on ladders or scaffolds. Electrical awareness is essential around overhead lines and powered fixtures. A safety-first approach not only protects workers but also helps prevent costly rework caused by compromised hardware or insecure mounts.
Indoor vs Outdoor Installations: Maintenance and Best Practices for Vinyl Banners
Indoor banners typically face less weather stress but still require reliable mounting and clear sight lines. Outdoor banners contend with sun, rain, and wind, demanding stronger hardware, weatherproof fasteners, and more robust edge support. Regular inspections help catch wear early and keep messages readable across viewing angles.
Maintenance includes cleaning with mild soap and water, re-tensioning when edges sag, and replacing worn grommets or fasteners as needed. Whether you’re installing vinyl banners indoors or outdoors, the same fundamentals apply: plan, secure, and sustain. Understanding how to install vinyl banners in varied environments ensures long-term performance and cost-effective messaging.
Frequently Asked Questions
What is custom banner installation and why is planning essential for success?
Custom banner installation starts with careful planning: assess the mounting surface, measure available space, and evaluate wind/load conditions. A thoughtful plan guides the choice of hardware, mounting techniques, and grommet placement to prevent sagging or tearing while ensuring legibility. By planning ahead, you also set up edge reinforcement and maintenance steps for a durable result.
What are the best banner mounting techniques to ensure a reliable custom banner installation?
Banner mounting techniques should match the surface and environment. For walls, secure grommets with evenly spaced fasteners; for rails or frames, use a rail system or tension through grommets; for freestanding displays, employ poles with reinforced frames. Across all methods, aim for even tension, clean lines, and secure attachments to keep the banner taut and readable.
How does banner grommets hardware choice affect a durable custom banner installation?
Banner grommets hardware matters for edge integrity and load distribution. Use corrosion-resistant grommets with protective washers, space them every 12 to 24 inches along top and bottom edges, and choose anchors compatible with the mounting surface (concrete, wood, or metal). Reinforce edges in high-stress areas to extend banner life.
What are the safety guidelines for banner installation to protect workers during installation at height?
Safety guidelines for banner installation emphasize PPE, fall protection, weather awareness, ladder/scaffold safety, and surface checks. Always wear gloves and eye protection, use fall protection when working at height, avoid windy conditions, secure ladders properly, and verify mounting surfaces are sound before attaching the banner.
How to install vinyl banners: steps from setup to final tension in a modern custom banner installation?
How to install vinyl banners: start with a thorough inspection of the banner and hardware, gather the right tools, and determine mounting height. Align the top edge, secure through grommets at even intervals, add bottom or mid-edge supports if needed, re-check tension, and document the installation for future maintenance.
| Topic | Key Points |
|---|---|
| Planning and Preparation |
|
| Banner Mounting Techniques |
|
| Grommets, Hardware, and Edge Reinforcement |
|
| Safety First |
|
| Indoor vs Outdoor Considerations and Maintenance |
|
| Tools and a Step-by-Step Guide to a Solid Installation |
|
| Common Mistakes and How to Avoid Them |
|
Summary
Conclusion