
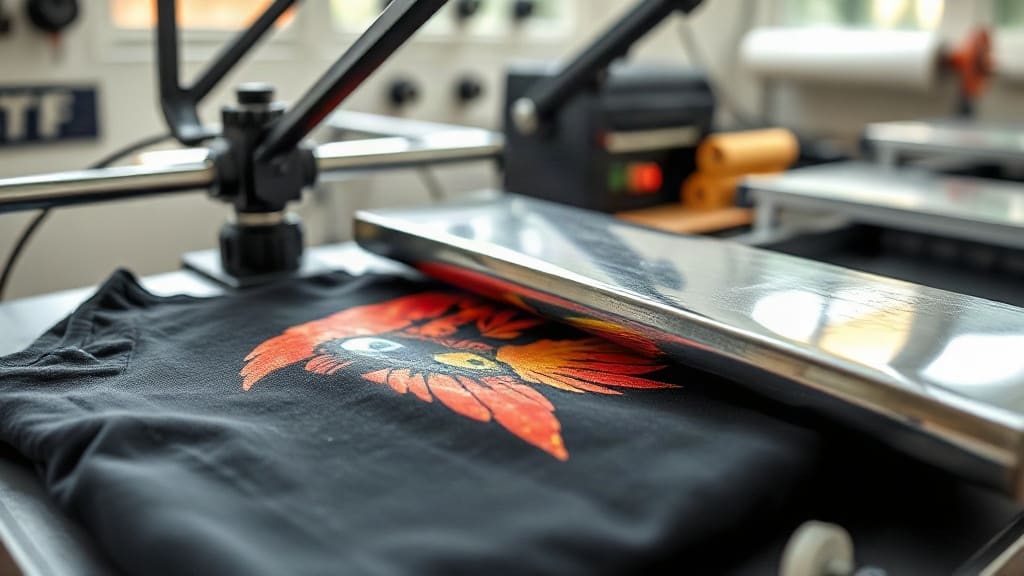
If you've been exploring custom apparel printing, you've likely encountered DTF transfers. Unlike traditional screen printing or vinyl, DTF (Direct to Film) transfers offer a versatile and cost-effective way to produce vibrant, detailed designs on a wide range of fabrics. Whether you're a small business owner, a hobbyist, or just curious about the latest printing technology, understanding DTF transfers can open up a world of creative possibilities. In this guide, we'll walk you through the entire process, from design preparation to the final press, and share practical tips to help you achieve professional-looking results every time.
What Are DTF Transfers?
DTF transfers are a relatively new printing method that involves printing your design onto a special film, coating it with a hot-melt adhesive powder, and then transferring it onto a garment using a heat press. The key difference from other methods like DTG (Direct to Garment) or sublimation is that DTF transfers can be applied to almost any fabric, including cotton, polyester, blends, and even dark colors, without the need for pre-treatment. This flexibility makes DTF transfers a favorite among crafters and small businesses looking to offer custom products without a huge investment in equipment.
How DTF Transfers Differ from Other Printing Methods
Compared to screen printing, DTF transfers eliminate the need for expensive screens and setup fees, making short runs and one-off designs economically viable. Unlike vinyl, DTF transfers can produce full-color, photographic-quality images with fine details and gradients. And unlike sublimation, which requires polyester or specially coated surfaces, DTF transfers adhere to cotton and other natural fibers, opening up more garment options. The process is also cleaner and faster than some alternatives, which is why many print shops are adopting DTF technology.
The DTF Transfer Process Step by Step
To get started with DTF transfers, you'll need a few key supplies: a DTF printer, DTF film, hot-melt adhesive powder, and a heat press. Here's a breakdown of the workflow:
- Design Preparation: Create your artwork in a graphics program like Photoshop or Illustrator. Remember to mirror the image horizontally before printing, as the transfer will be flipped when applied.
- Printing: Load the DTF film into your printer and print the design using DTF inks (usually CMYK plus white). The white ink layer is crucial for opacity on dark fabrics.
- Powdering: While the ink is still wet, sprinkle hot-melt adhesive powder evenly over the print. Shake off the excess, then cure the powder using a heat source (like a heat press or oven) until it melts and becomes glossy.
- Transferring: Place the transfer onto your garment with the powder side down. Apply heat and pressure with a heat press (typically 300-320°F for 10-15 seconds). Peel the film off either hot or cold, depending on the film type.
Each step requires attention to detail, but with practice, you'll develop a rhythm that yields consistent results.
Choosing the Right DTF Film and Powder
Not all DTF films and powders are created equal. The film you choose affects how easily the ink releases and how the final print feels. There are two main types: hot peel and cold peel. Hot peel films allow you to remove the carrier sheet immediately after pressing while the transfer is still hot, which speeds up production. Cold peel films require the transfer to cool completely before peeling, often resulting in a smoother finish. Your choice depends on your workflow and the desired outcome.
The adhesive powder also plays a critical role. Fine powders create a softer hand feel but may require more careful application, while coarser powders provide a stronger bond but can feel thicker. Experiment with different brands to find the combination that works best for your fabrics and designs.
Compatibility with Different Fabrics
One of the biggest advantages of DTF transfers is their compatibility with a wide range of materials. They work well on:
- 100% cotton
- Polyester and polyester blends
- Cotton-poly blends
- Nylon
- Leather (with caution)
However, fabrics with a heavy texture or coating may require adjustments in pressure or temperature. Always test on a scrap piece before pressing your final product.
Tips for Flawless DTF Transfers
Achieving professional-quality DTF transfers takes practice, but these tips will help you avoid common pitfalls:
- Control moisture: Moisture in the fabric or film can cause bubbles or poor adhesion. Pre-press your garment for a few seconds to remove moisture before applying the transfer.
- Use the right pressure: Insufficient pressure leads to incomplete transfer, while too much pressure can cause the design to spread. Aim for medium to firm pressure.
- Mind the temperature: Follow the film manufacturer's recommendations. Too hot, and the film may wrinkle or burn; too cool, and the powder won't melt properly.
- Peel with care: Whether hot or cold peel, peel the film smoothly and consistently to avoid lifting the design.
- Store transfers properly: Keep unused transfers in a cool, dry place away from direct sunlight to prevent the powder from absorbing moisture.
Troubleshooting Common DTF Transfer Issues
Even experienced users run into problems. Here's how to troubleshoot some frequent issues:
Transfer Not Sticking
If the transfer peels off or doesn't adhere, check your pressure and temperature. Insufficient pressure is a common cause. Also, ensure the garment is clean and dry. If the powder didn't melt fully, increase the curing time or temperature.
Design Cracking or Fading
Cracking often occurs if the transfer is stretched during application or if the garment is washed improperly. Wait 24 hours before washing, and turn the garment inside out. Use cold water and avoid harsh detergents. Fading can happen if the ink wasn't cured properly; ensure your printer settings and powder curing are optimal.
Film Not Peeling Smoothly
This usually indicates that the transfer hasn't cooled enough (for cold peel) or that the film is incompatible with your powder. Try a different peel method or adjust your powder application. Sometimes, a different film brand can solve the issue.
Frequently Asked Questions About DTF Transfers
Can I use DTF transfers on 100% polyester?
Yes, DTF transfers work well on polyester and polyester blends. However, polyester is heat-sensitive, so use a lower temperature (around 280-300°F) and test first to avoid scorching.
How long do DTF transfers last?
With proper application and care, DTF transfers can last as long as the garment itself. Wash inside out in cold water and avoid ironing directly on the design to maximize longevity.
Do I need a special printer for DTF transfers?
Yes, you need a DTF printer that uses DTF inks (typically CMYK plus white). You can convert some inkjet printers, but dedicated DTF printers are recommended for best results.
Can I layer DTF transfers?
Layering is possible but tricky. It's best to apply one transfer at a time, pressing each layer before adding the next. Use a heat press for consistent results.
What is the difference between DTF and DTG?
DTG (Direct to Garment) prints directly onto the fabric, while DTF transfers are printed onto a film and then transferred. DTF works on more fabric types and often produces more vibrant colors on dark garments.
With these insights, you're ready to dive into the world of DTF transfers. Remember, practice makes perfect, so don't be discouraged by initial setbacks. Happy printing!